My Company
When you've created a Martide account you also need to create your company profile. Here's how.
What your My Company page looks like
Log in to your Martide account and click My Company in the menu on the left. You will go to this page:
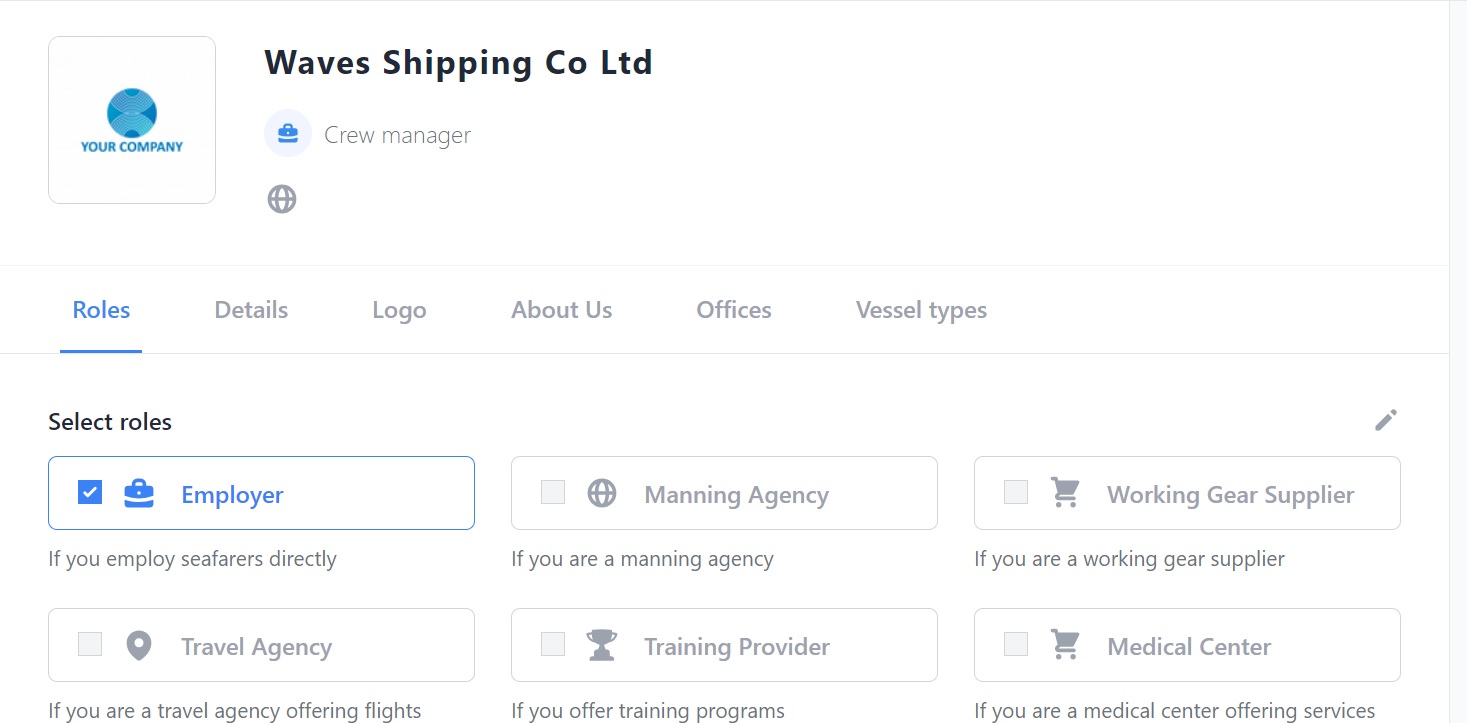
Select your company's role: Employer, Manning Agency, Working Gear Supplier, Travel Agency, Training Provider or Medical Center.
You can select more than one , i.e. if you are an Employer who also offers training.
Depending on what your company does, you will see different headings at the top. Our example is for a Crew Manager/Employer so we can see 6 headings: Roles, Details, Logo, About Us, Offices and Vessel Types. Click a heading to go to that section.
Note: there are other sections on the page but the headings take you to the main ones.
We will take you through the Employer version but the basics are the same for all companies.
To edit a section, click the pen icon on the top right:

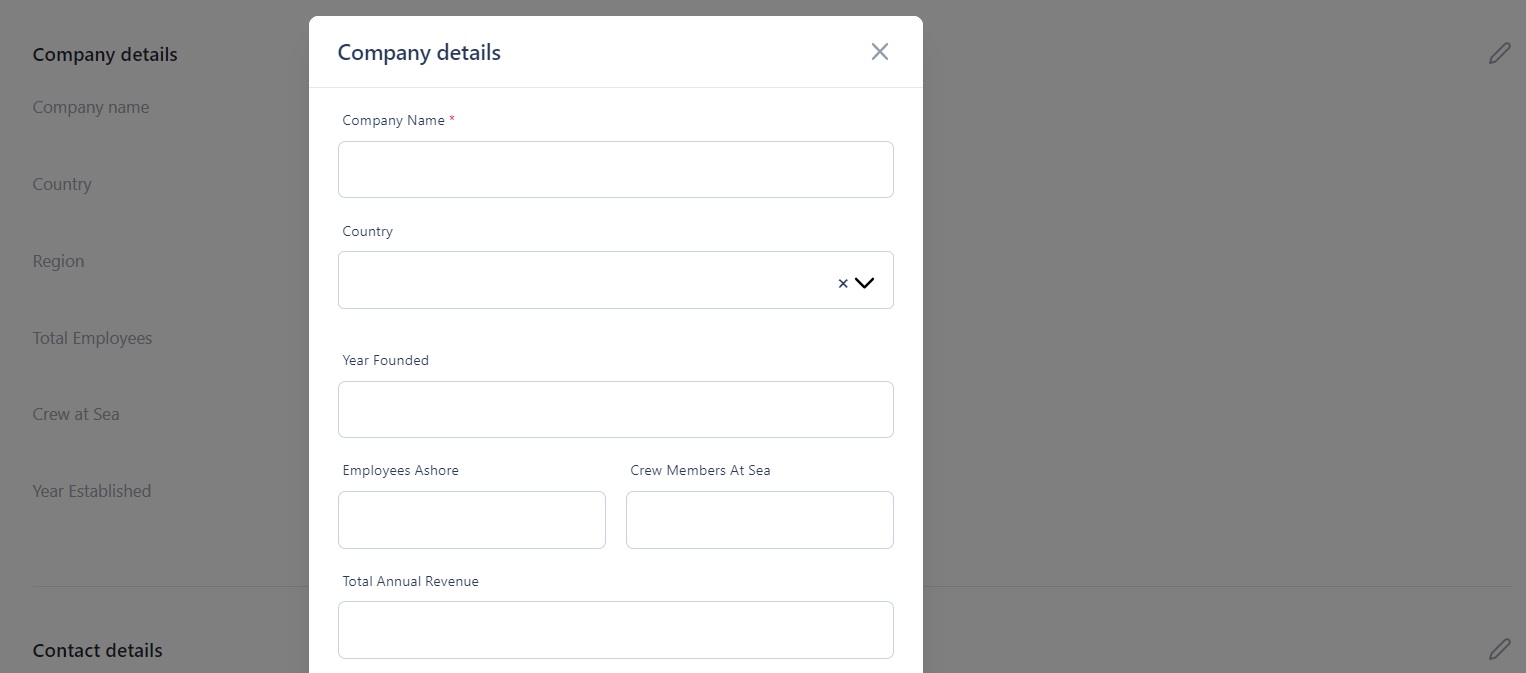
In the Details section you can:
- Add your company details including its name, country, number of employees and crew at sea, year established, number of vessels managed, annual revenue, main markets and certifications:
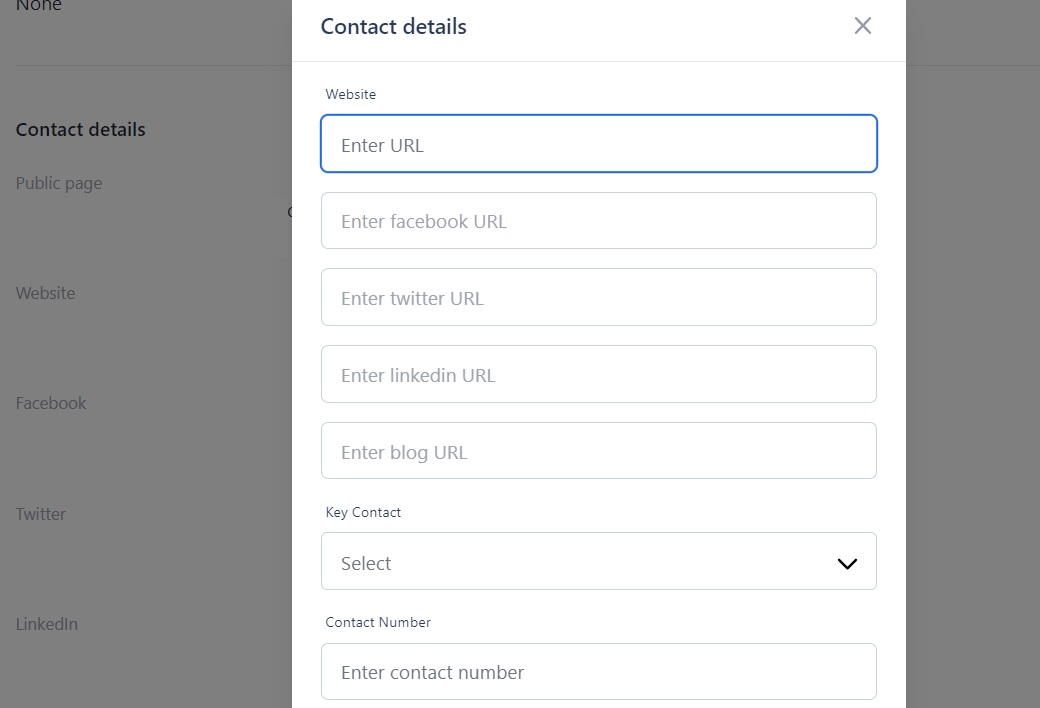
In the Contact details section you can:
- Enter your website, email, contact name, phone number and cell number.
- Add links to your Facebook, Twitter and LinkedIn accounts and your blog.
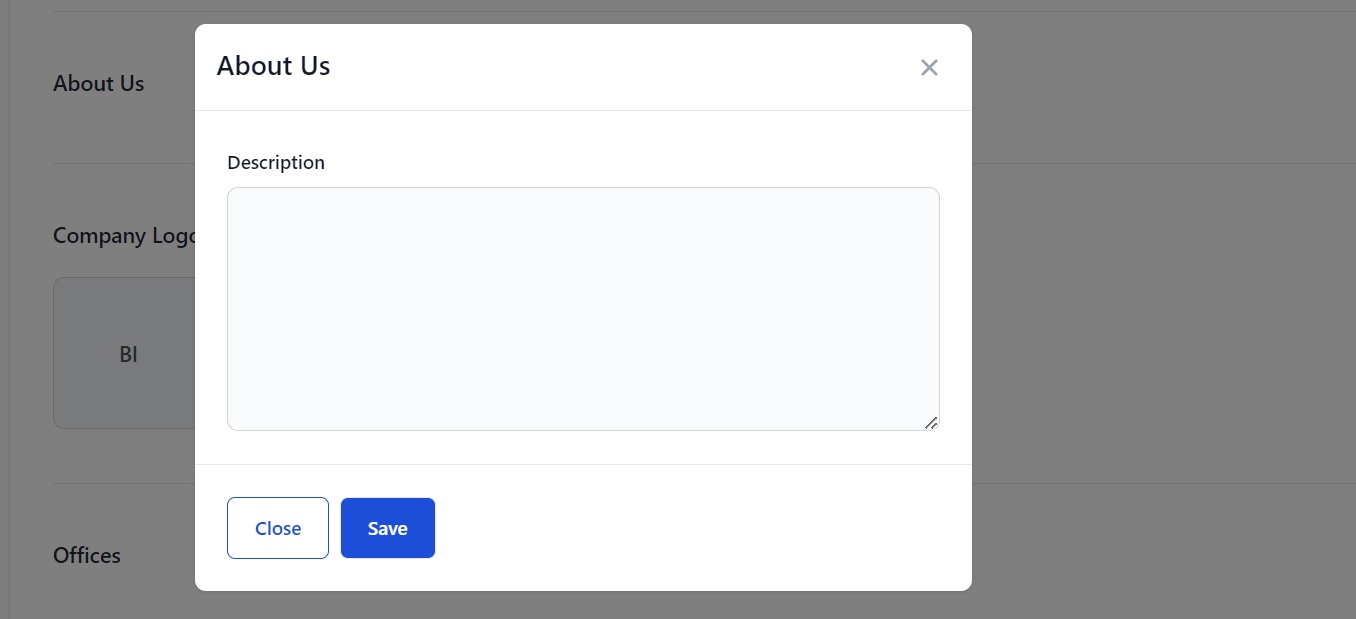
In the About Us section you can:
- Type in or copy and paste your company's About Us wording that you use on your website.
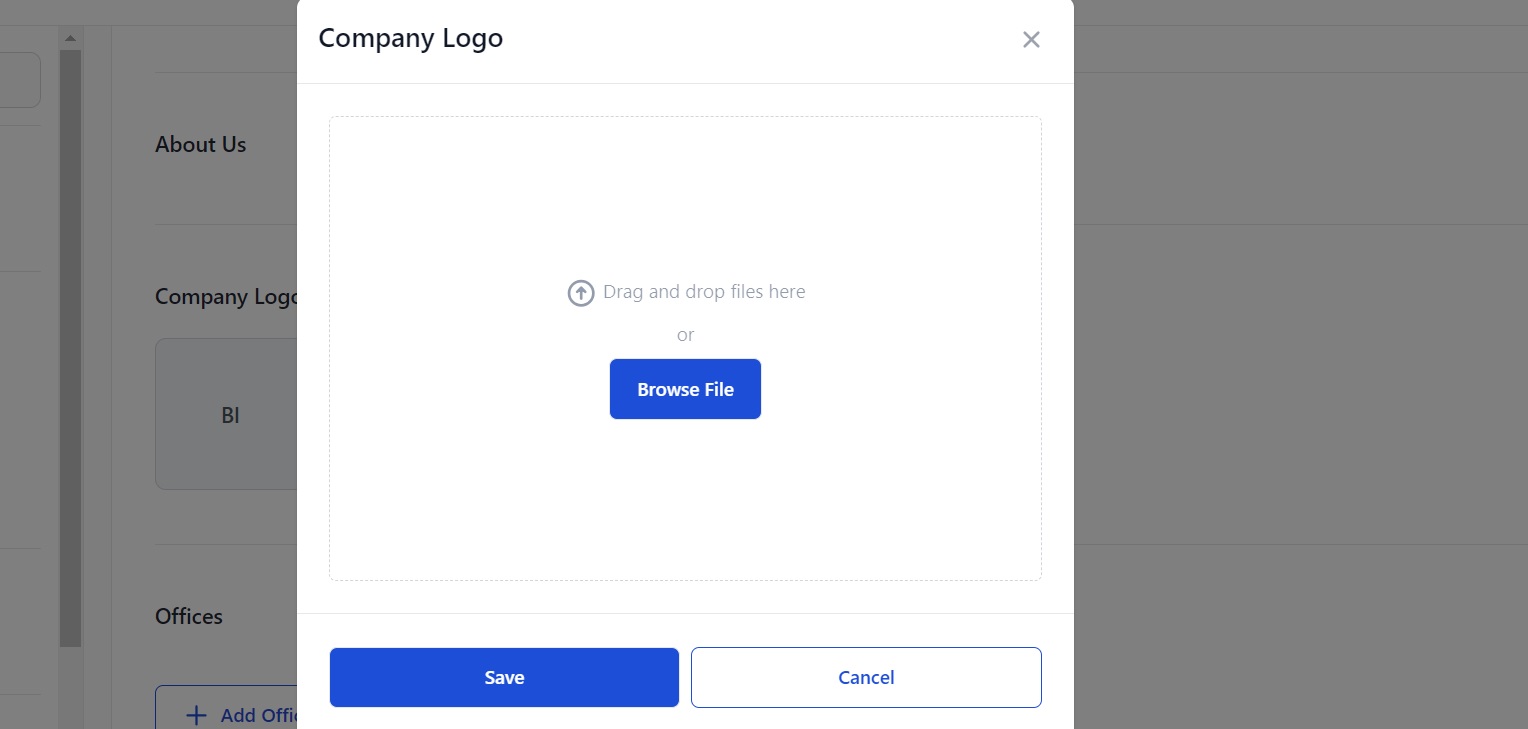
In the Logo section you can:
- Upload your company logo.
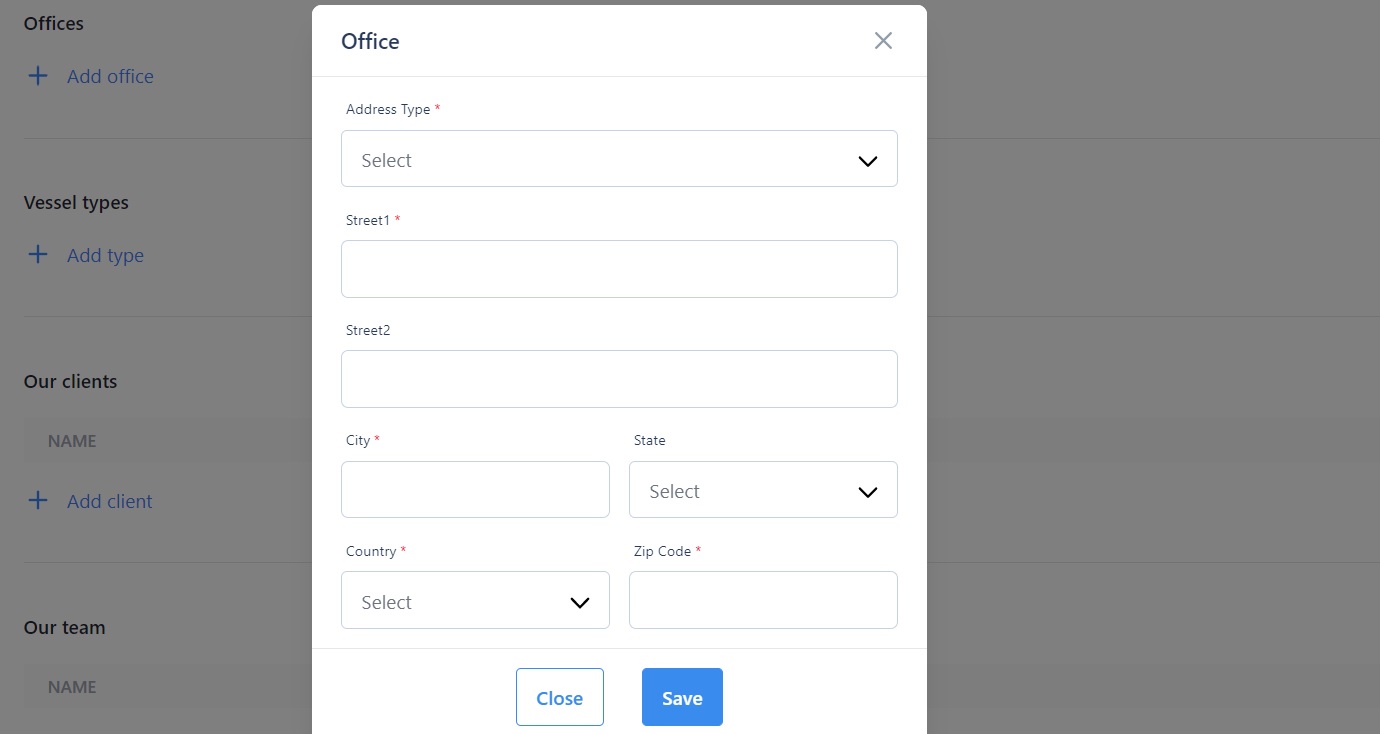
In the Offices section you can:
- Enter your office or offices and their addresses. Select the type of address: Primary, Billing, Tax etc.
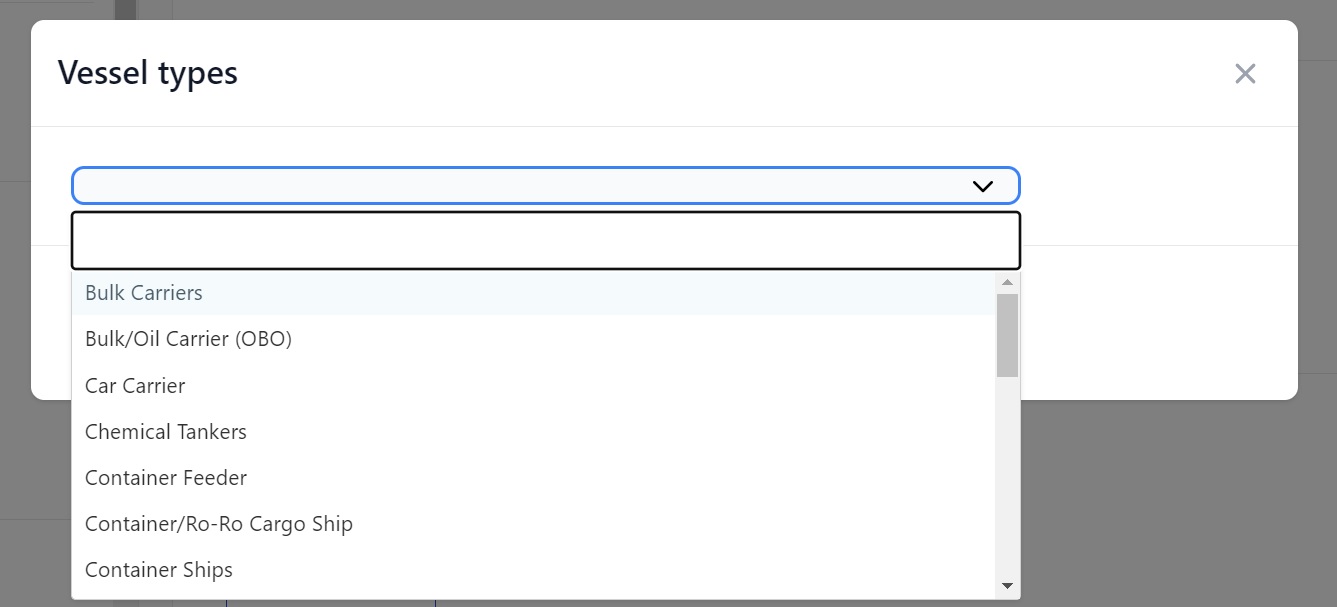
In the Vessel types section you can:
- Select the types of vessels you own, manage or operate.
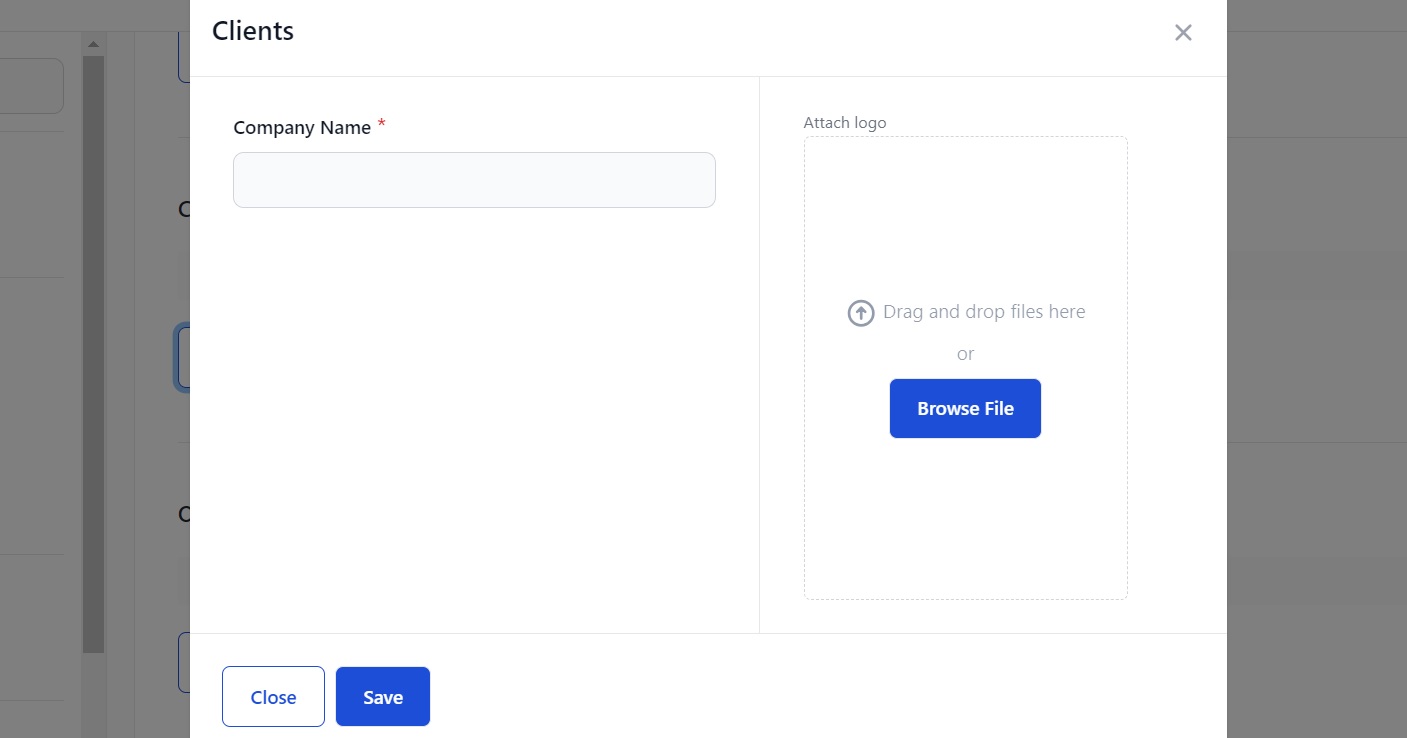
In the clients section you can:
- Enter the names of your clients' companies and upload their logos.
In the Our Team section you can:
- Add the name and position of the people you work with who will have access to Martide.
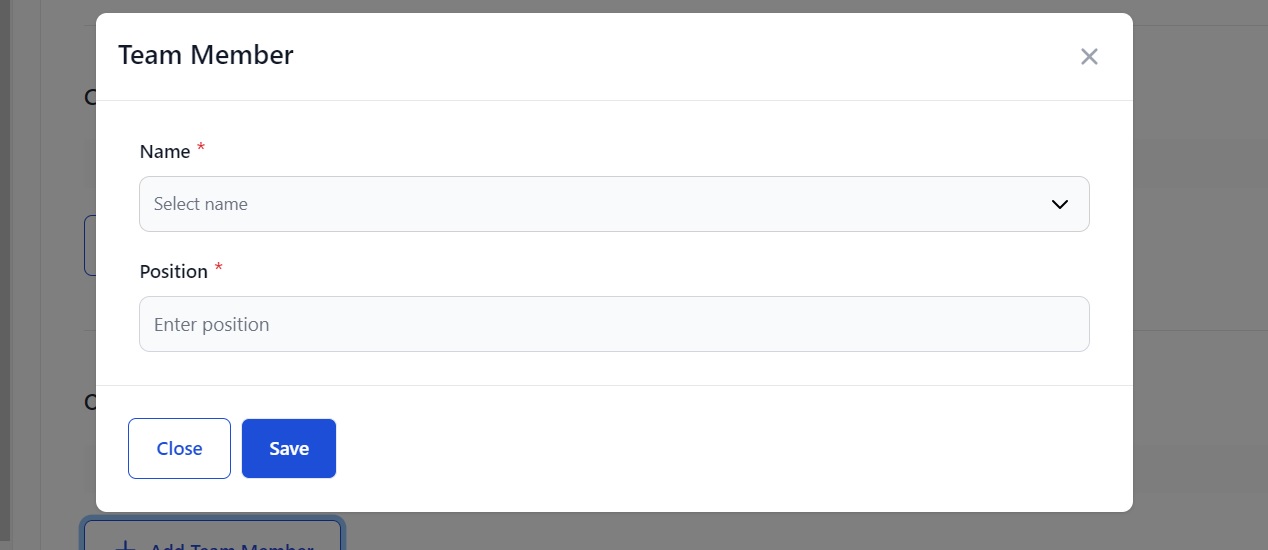
To find out how to add your employees to Martide, see this page. To learn how to create User Groups, check here.
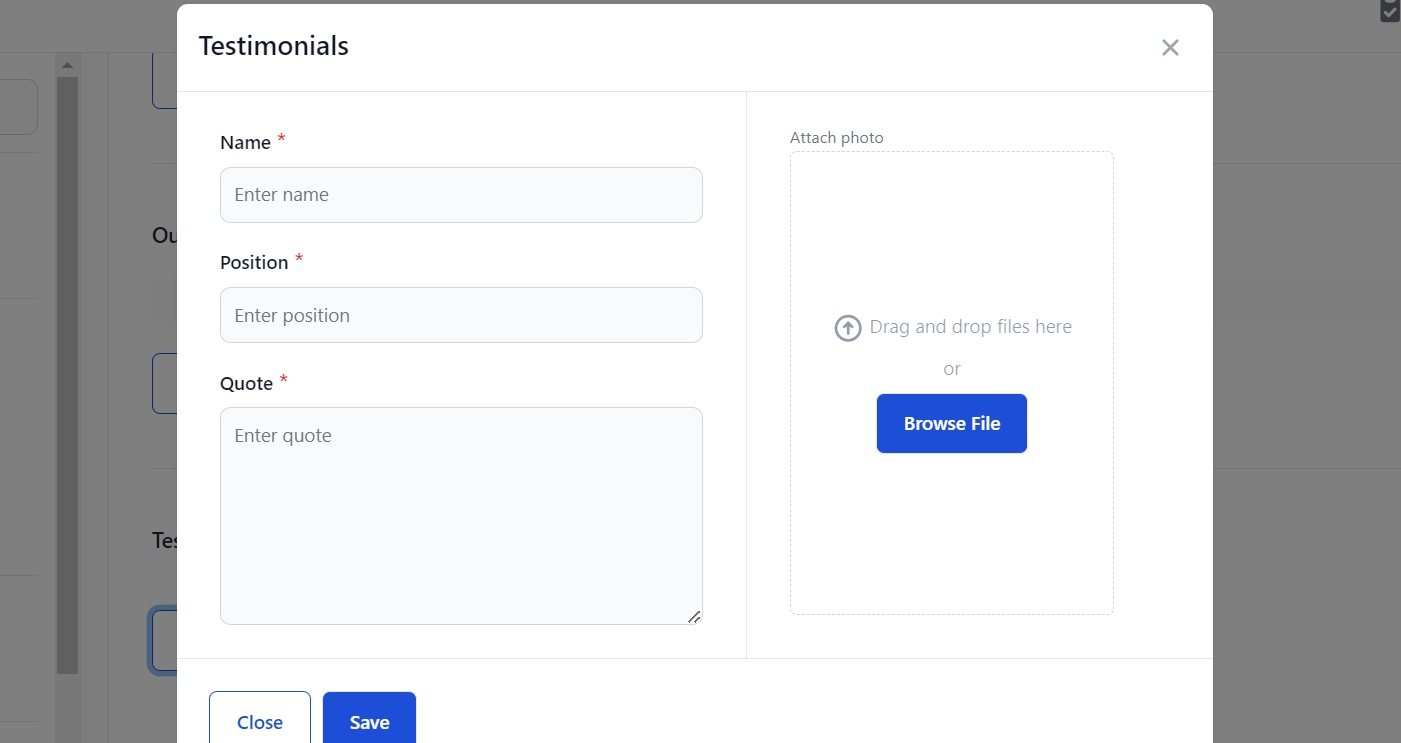
In the Testimonials section you can:
- Enter the name and position of the person who has written you a testimonial.
- Copy and paste the testimonial into the quote box.
- Upload their photo or their company logo.
If you need any further help, please contact us here.