Vessel Custom Contacts
In Martide all of your vessels have default contacts:
- Crew Operator
- Technical Superintendent
- Designated Person Ashore
- Procurement Officer
- Vessel Operator
- Payroll Officer
They are displayed on the Vessels page under the vessel's details. However, if you need more contacts, you can add your own. The new contact(s) will be added to all your vessels.
Here's how to use the Vessel Custom Contacts feature.
Sign into your Martide account and click on Settings in the drop down menu under your profile icon. Then click Vessel Custom Contacts:
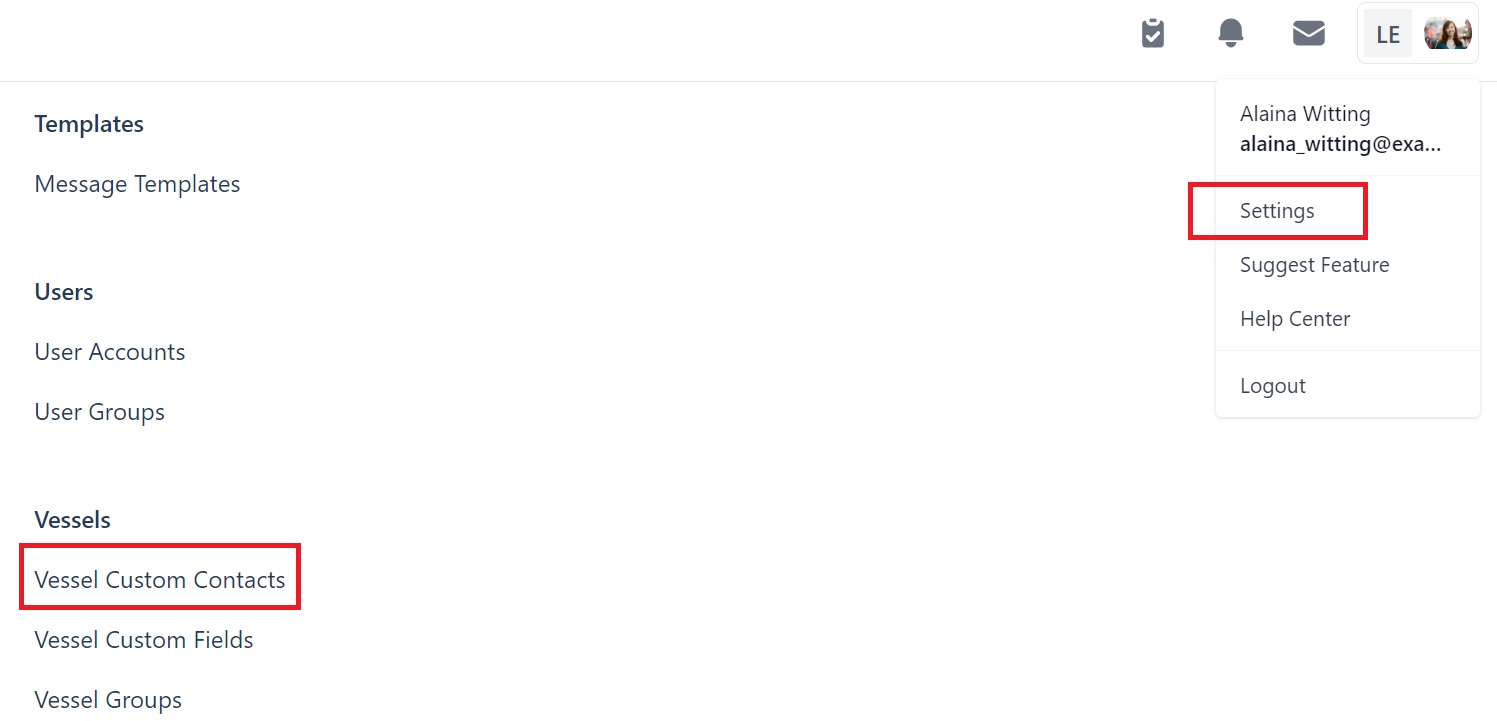
The Vessel Custom Contacts page looks like this:

To add a new contact, click the Add Vessel Custom Contact button at the top. You will see this pop-up box:
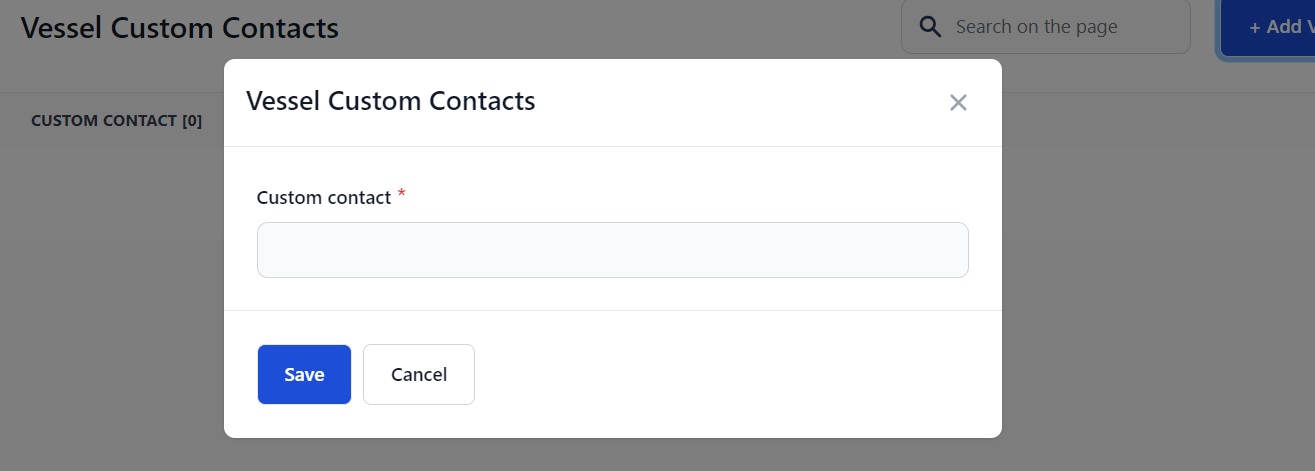
Type the name of your contact - for example Crew Manager or Recruitment Officer into the box and click Save.
Your custom contact will now appear on the main page:

You can add as many custom contacts as you need.
How to edit or delete a Vessel Custom Contact
To edit a Vessel Custom Contact click the pen icon next to it. This will open the same pop-up box and you can make your change.
How to assign a contact to your vessel
To use a vessel custom contact, go to the Vessels page and click on a vessel's name:
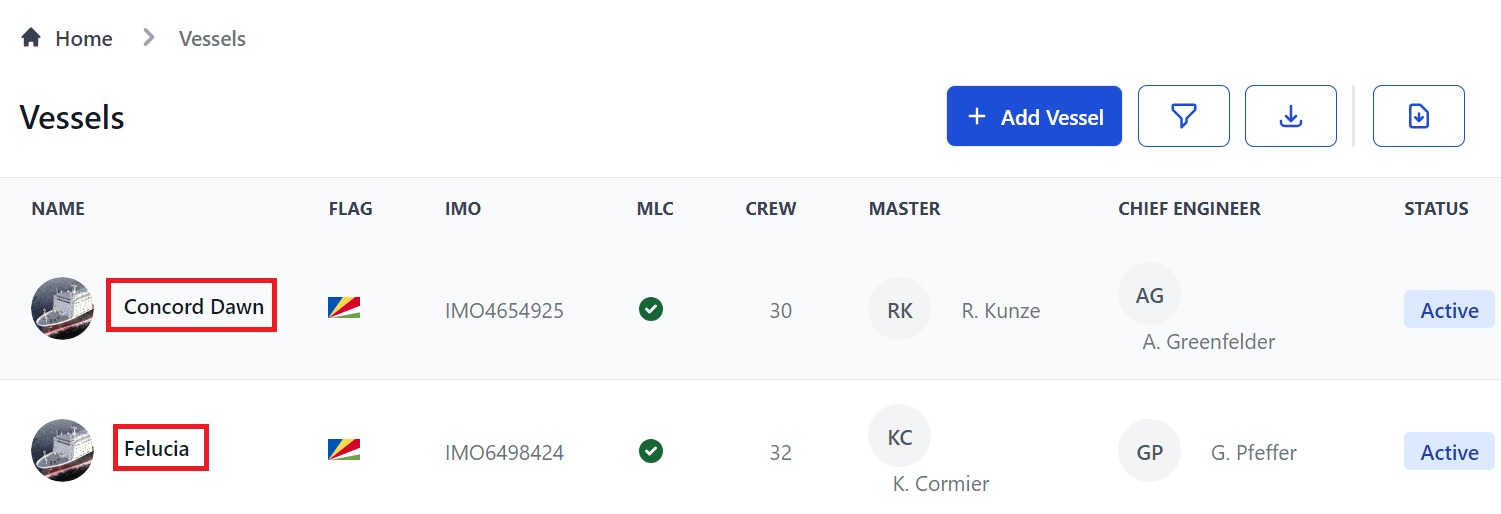
You will go to the vessel's profile page:
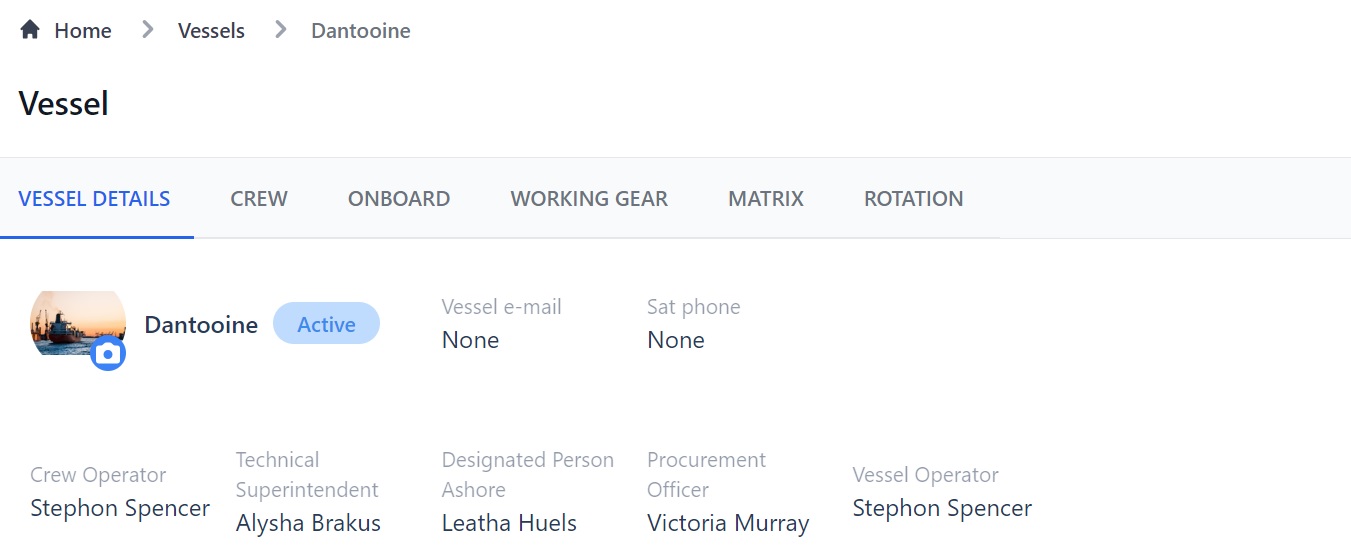
You will see the default vessel contacts. To add a custom contact, scroll down to the Vessel Contacts section:

Click the pen icon in the corner of the section (see above) and this pop-up box will open:
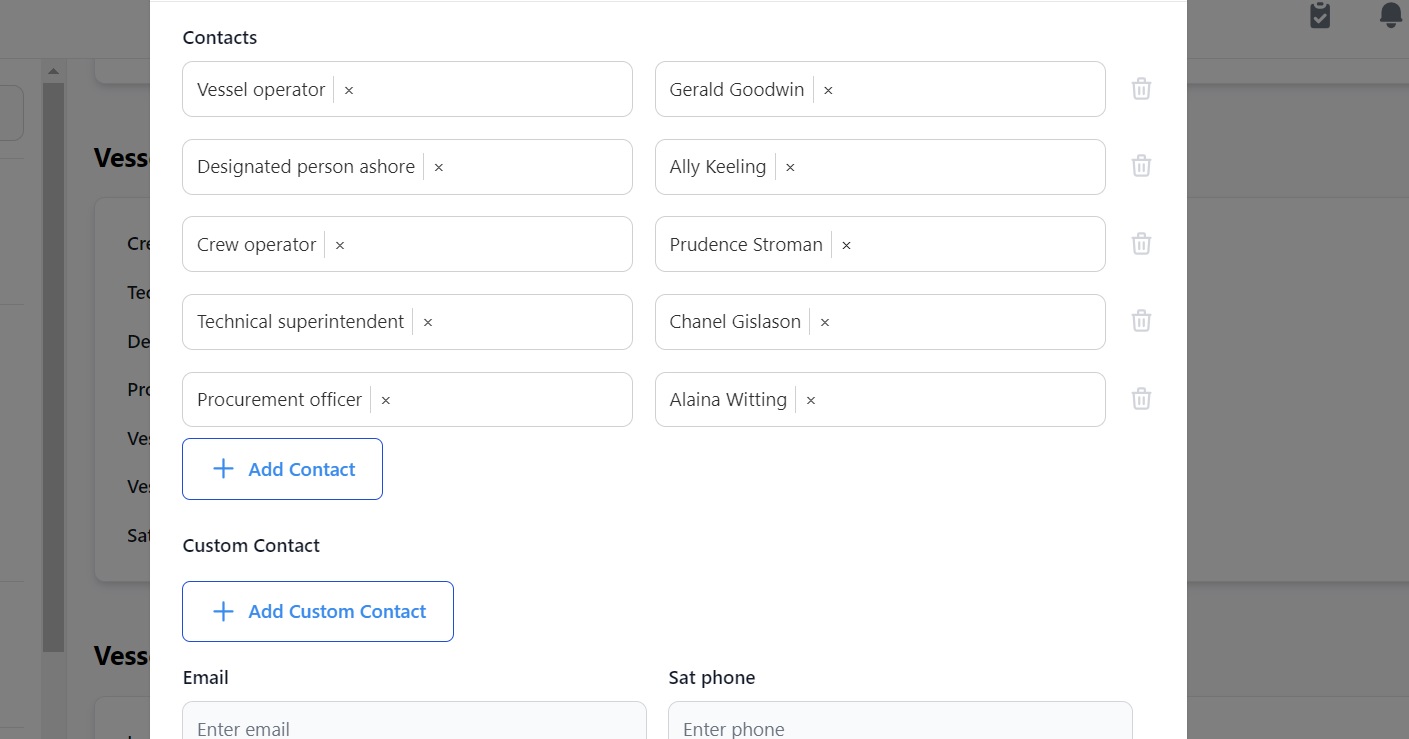
Here you can:
- Delete and reassign the contact type and user in that role by clicking the X in each box.
- Delete the contact and user entirely by clicking the trash can icon.
- Add another default contact and user by clicking the Add Contact button
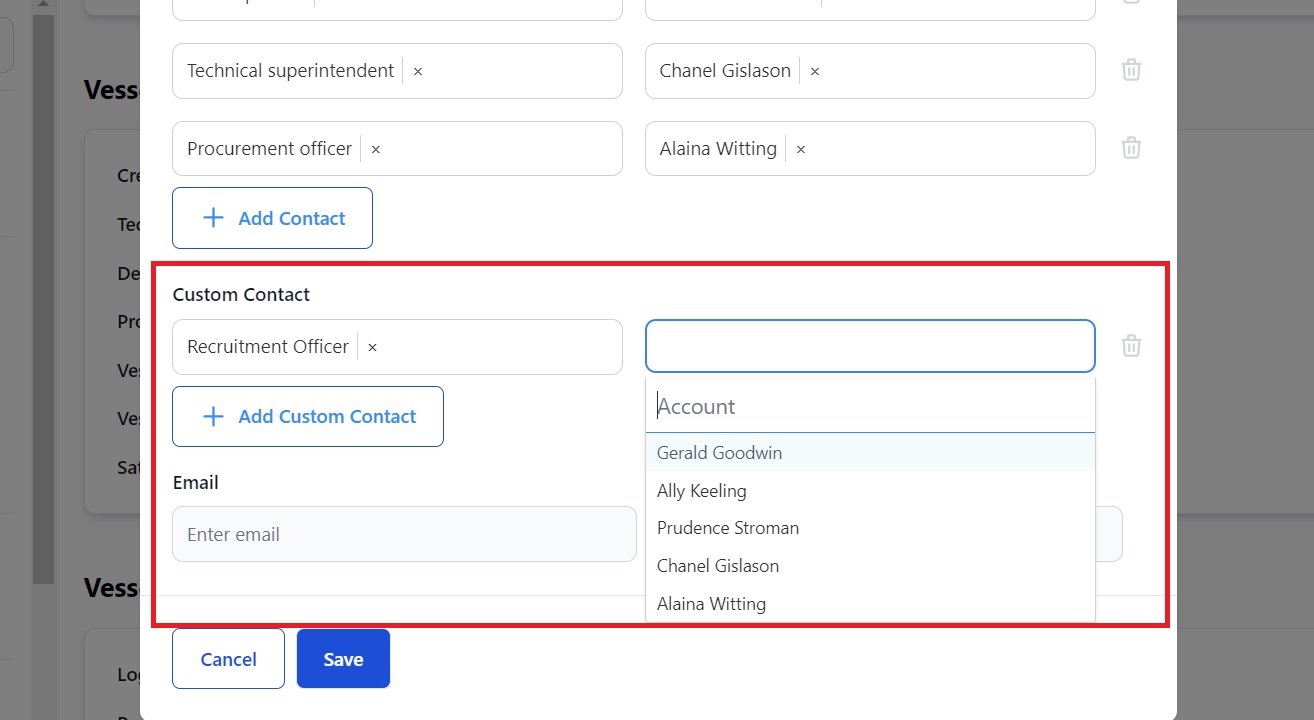
- Add a Vessel Custom Contact by clicking the Add Custom Contact button and choosing a role and user from the drop down menus:
If you need any further help, please contact support@martide.com